
While we were in Norfolk this week, we photographed the night sky over Happisburgh Lighthouse.
My 365/51 is from this day last year, a long exposure of Walton Bridge, still with its feet in water thanks to the flooded Thames.
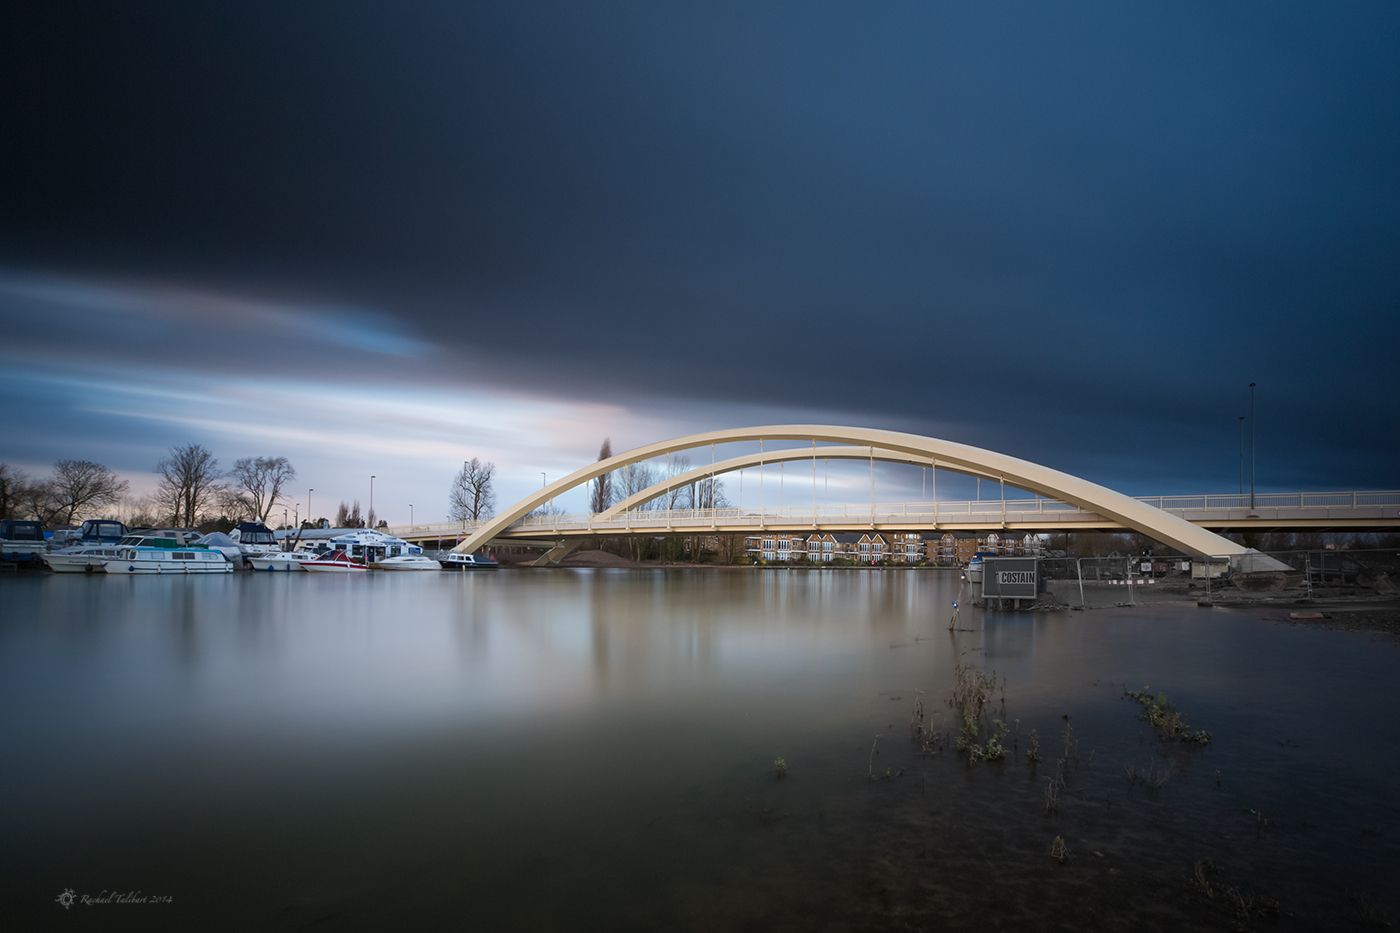
365/51

While we were in Norfolk this week, we photographed the night sky over Happisburgh Lighthouse.
My 365/51 is from this day last year, a long exposure of Walton Bridge, still with its feet in water thanks to the flooded Thames.
365/51

One last night sky shot from our trip to Western Australia. On the two nights I managed to get out with my camera at Smiths Beach, Yallingup, meteors showed up in almost every shot. Very exciting! Can you see my husband, up on the dune?
I knew there would be a chance of seeing the milky way during our visit. Having never tried this sort of photography before, I read up on techniques before we went. The following is what I read as adjusted by my experiences in the field. But remember, I am very much a beginner at this sort of photography!
For best viewing of the milky way, you need a location as far away from other light sources as possible. So, away from settlements and roads, and on a night with as little moon as possible. Luckily, our stay in Yallingup coincided with a relatively late moonrise. On the first night, it rose two and a half hours after sunset, and later on the second. That did mean I had to work quickly, as it is best to leave at least a two hour gap after sunset to be sure of a dark sky. In the image above, the greenish light entering from the left is the moon still below the horizon but beginning to make its presence known.
I had read that a 30 second exposure was best as anything longer and the earth’s rotation would make the stars start to streak. Although I stuck to this advice, now that I have seen my images on the big screen at home, I think that 20 seconds would have been better; there are signs of movement in my skies.
In order to get as much light as possible to the sensor, I used f2.8, the widest aperture my 16-35mm lens can achieve. Depth of field is not a major issue at 16mm! Of course, the very dark conditions that make the milky way visible also make high ISOs necessary. I used 1600 or 3200. As I mentioned in my last post, this introduces quite a bit of noise. I am working on refining my editing to mitigate the noise (many thanks to those who have recommended noise reduction plugins – I will try them all!).
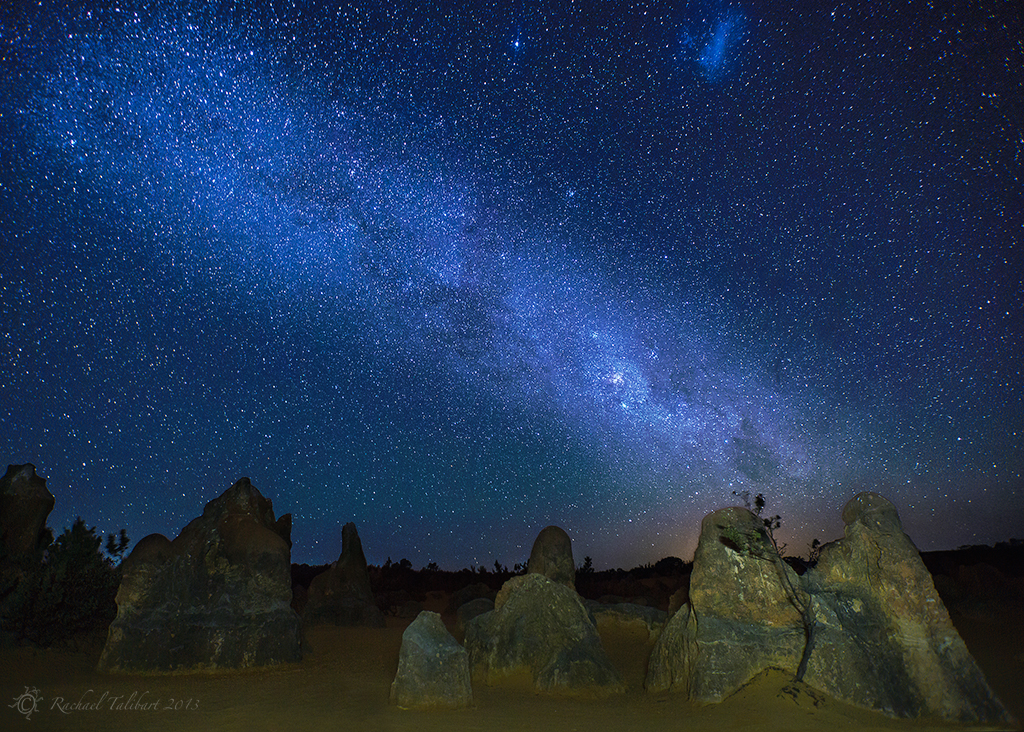
Focusing is tricky in the dark too. I had read that focusing to infinity was best but I found in practice it was better just a notch less than infinity. Perhaps a quirk of my lens. If you want to focus on something closer, like the pinnacles in my first star shot (reproduced below), then a torch shone on the object is invaluable. Incidentally, I used my iPhone’s torch app to illuminate the pinnacles. Otherwise, they would have been silhouettes.
Perhaps the trickiest thing of all is finding your way in the dark with a heavy backpack and tripod. It was fairly easy on the beach but at Pinnacles it was a little bit daunting, walking out into the desert with no lights or signs to guide you if you lost your bearings. My husband was worried about driving the car on the dirt and sand track so we left it in the car park. Probably a mistake with hindsight! Note to self: next time hire a 4X4.
One final note, I understand that the best time to view the milky way is during winter (so May-August in Australia). I am going to make that my excuse for not seeing and capturing something like the winning image in Astronomy Photographer of the Year! Inspirational stuff.

I was lucky, during this trip to Western Australia, to have three opportunities to shoot the night sky. This shot was taken at Smiths Beach bear Yallingup, in the South Western part of the state. Out shooting the sunset a day earlier I noticed a small river running into the sand and hoped it might reflect the stars later. By the next evening, the river had nearly dried up, but there was just enough water left to create some reflections.
One of the problems I have encountered shooting starscapes is that you have to bump up the ISO. This is because any exposure of longer than 30 seconds begins to record the movement of the stars. Of course, higher ISOs mean more noise. It’s not so much of an issue in the sky as it’s already speckled with stars, although even there it can start to look messy. It shows up more in the foreground, especially the sand in this shot. Here I have applied some noise reduction in ACR, more for the foreground and a little in the sky, but at the cost of some of the definition in the stars. It’s a difficult balancing act that will take me a while to master. I suspect I need to investigate some of the noise reduction plugins.
One more astrophotography post tomorrow, with full details of technique.
 We’re back from our trip to Western Australia. This had to be the first image processed. I have long wanted to photograph the milky way, but where we live light pollution is too great. Luckily, during our trip the moon rose late enough for me to squeeze in three milky way photoshoots. But no foreground could match that of the eery pinnacles in Nambung National Park.
Happy New Year everyone!
